Step 1: Download the Installer DVD .iso
- Get the .iso file from the official BlueOnyx repository HERE.
- The BlueOnyx distribution is hosted on VIRTBIZ Dedicated Servers.
Step 2: Boot with the Installer DVD
- Attach your the DVD you have burned from the ISO image.
– or – - Attach your ISO image directly.
- The server will boot to the BlueOnyx installation options.
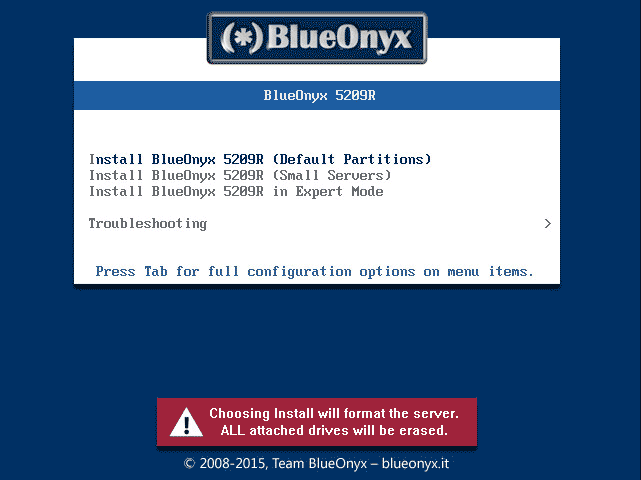
Step 3: Select your installation preference
- BlueOnyx will automatically partition and format your hard drives.
- The recommended procedure that most users should choose is “Default Partitions”.
- WARNING: all data will be erased from the server that you are installing to.
- Hit “Enter” when you have selected the option you wish to choose.
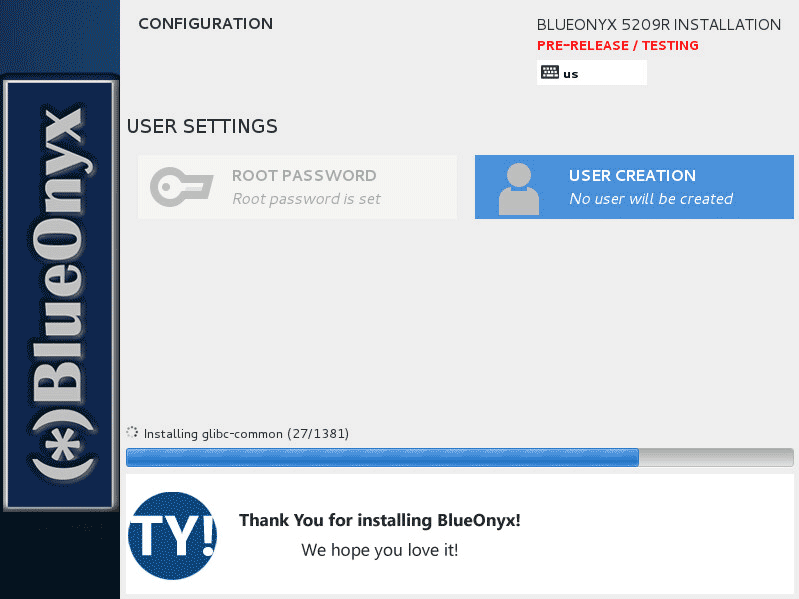
- BlueOnyx will now proceed with the installation. Sit back and relax.
Step 4: Reboot when prompted
Step 5: Log in with default credentials, as displayed on screen
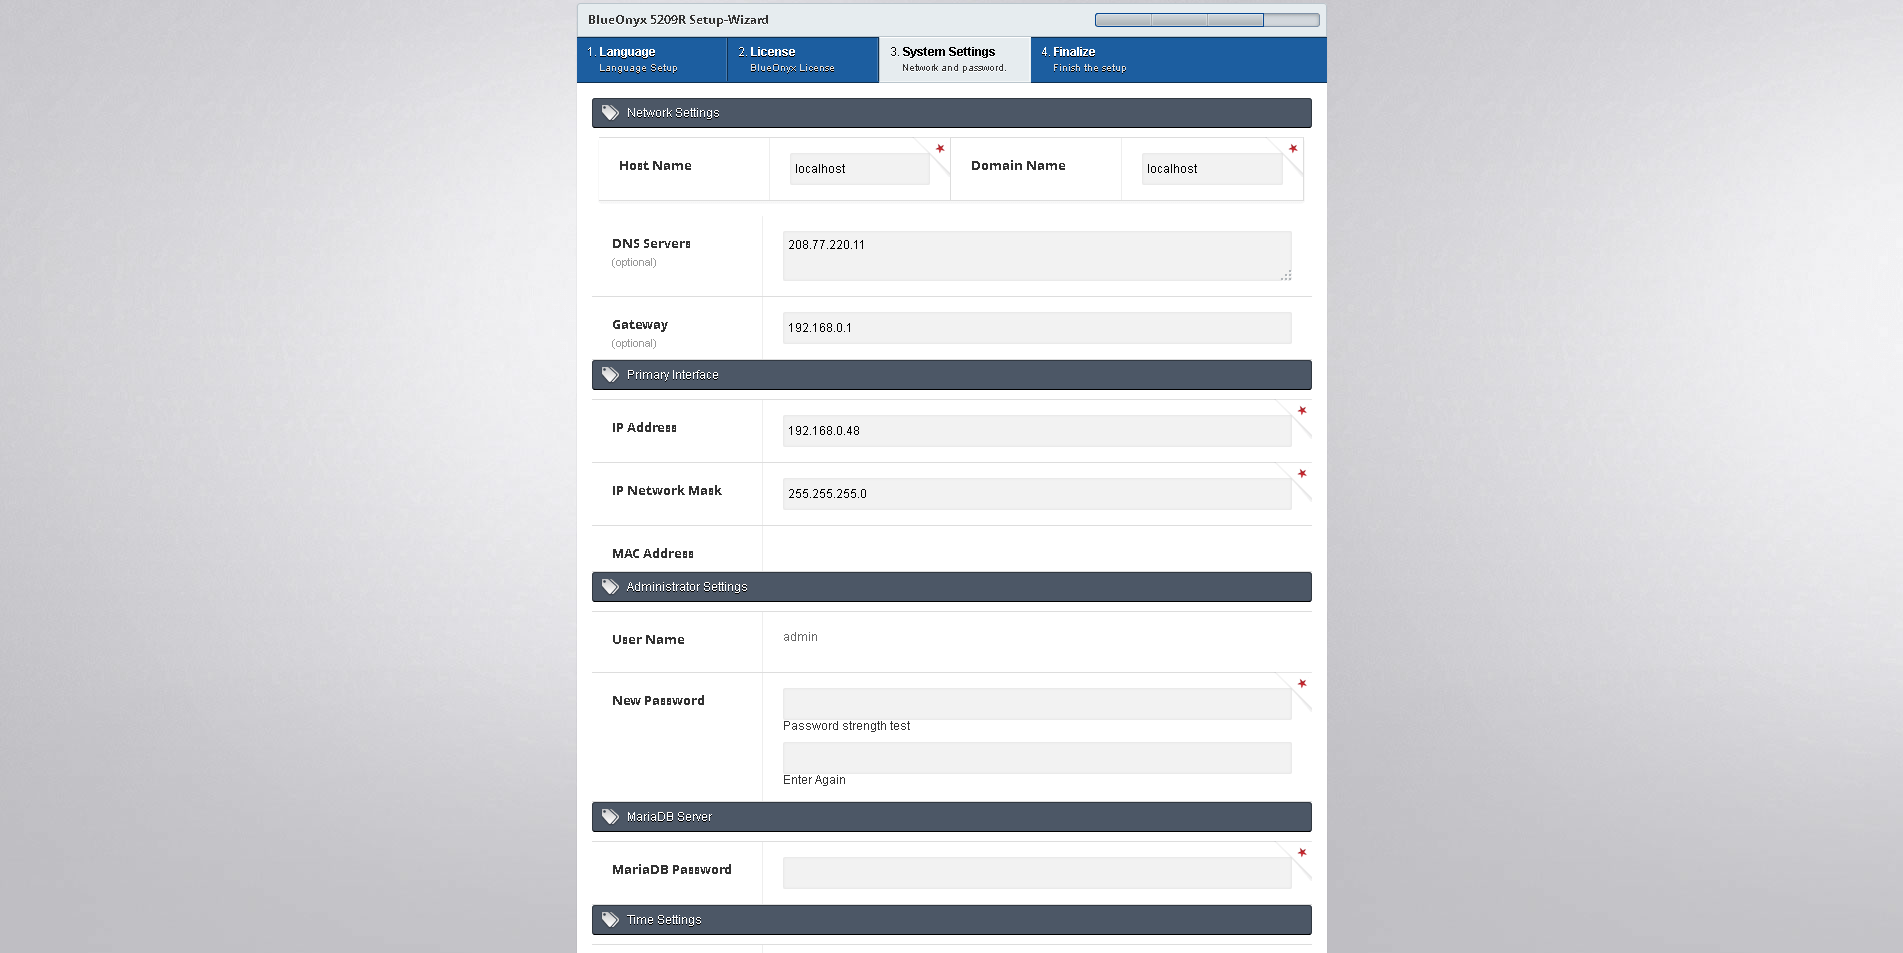
- BlueOnyx will walk you through a series of questions. You should know your
- IP address
- Subnet mask
- Gateway
- DNS Server
- When you have completed those, the system will prompt for a YUM update. If you are connected to the Internet, select “Yes”.
Step 6: Complete setup via web GUI
- The GUI will be available at your IP address on port 444
Step 7: